

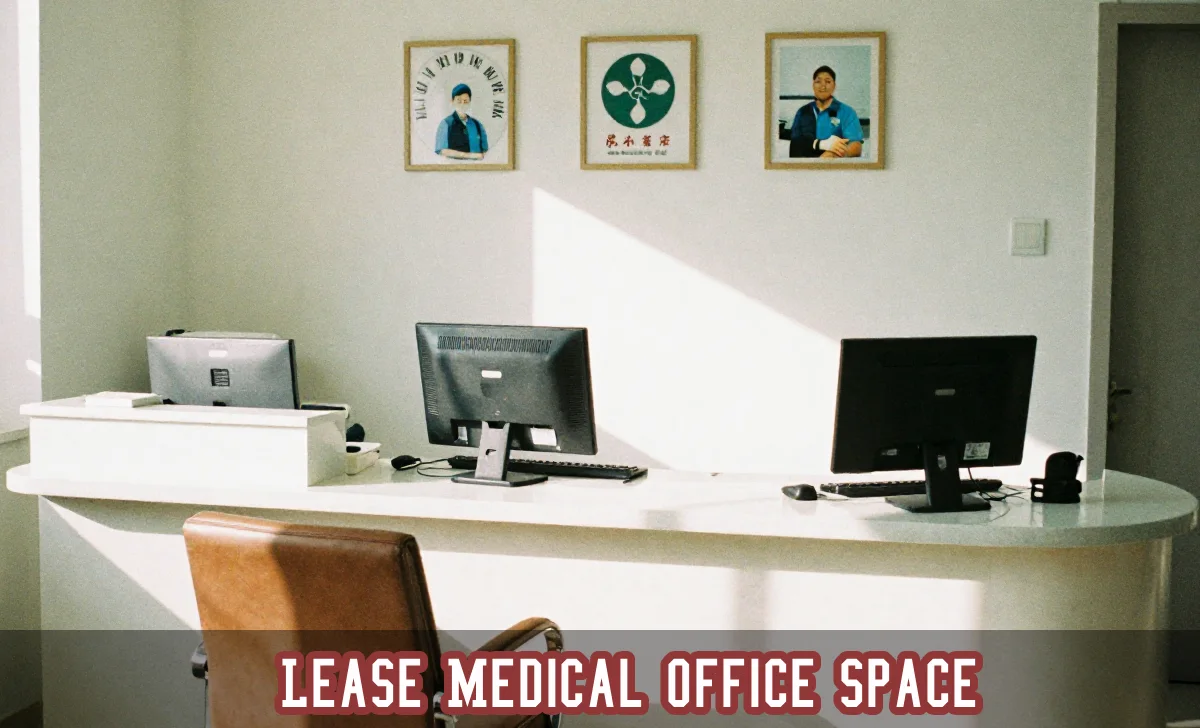
Finding the perfect space for your medical practice is more than just a real estate transaction; it’s a critical decision that impacts patient care, daily workflow, and the long-term financial health of your business. Whether you’re a seasoned practitioner opening a new satellite location or a first-time practice owner, the process can feel overwhelming. You’re not just looking for four walls and a roof—you’re searching for a functional, compliant, and welcoming environment where healing can happen.
This guide cuts through the complexity. We’ll walk you through the essential strategies and often-overlooked details of lease medical office space, translating industry jargon into actionable steps. Let’s turn this daunting task into a structured, successful project.
Understanding the Unique Nature of Medical Real Estate
First, acknowledge that medical office space is a specialized niche within commercial real estate. A standard office lease won’t cover your needs. Your space must balance clinical functionality, stringent compliance regulations, patient accessibility, and professional branding. Common discussions among practitioners center on the high cost of build-outs, the challenge of finding landlords who understand these needs, and the fear of signing a lease that becomes a financial straitjacket.
This guide is designed to address those exact concerns, helping you negotiate from a position of knowledge and secure a lease that supports, rather than hinders, your practice’s success.
Step 1: Define Your Needs – Beyond Square Footage
Before you look at a single listing, invest time in internal planning. “How much space do I need?” is the obvious first question, but the deeper query is, “How will this space function for my patients and staff for the next 5-10 years?”
- Calculate Functional Space: Start with a room-by-room list: waiting area, reception, how many exam rooms, procedure rooms, nurse stations, doctor’s office, staff lounge, utility/laundry, and storage. Don’t forget space for essential equipment. A common mistake is underestimating storage needs for supplies and records.
- Plan for Growth: Are you planning to add another physician, a new service line, or more diagnostic equipment in the lease term? While you don’t need to pay for unused space today, negotiate a right of first refusal on adjacent space or ensure the lease has manageable expansion terms. As one practice manager shared, “We outgrew our layout in three years, and moving was far more expensive than slightly larger initial rent would have been.”
- Consult a Specialist Early: Engaging a professional specializing in medical office design before you sign a lease is a wise investment. They can review potential floor plans with you, identify potential plumbing or electrical hurdles for exam rooms, and help you avoid fundamentally unsuitable spaces, saving you from costly conversion expenses later.
Step 2: Decipher the True Cost – Sticker Price vs. Actual Cost
The quoted rent per square foot is just the beginning. The most critical financial skill in this process is understanding the total occupancy cost.
- Know the Market: Research average property rates in your desired locality. This gives you a baseline for negotiation. Is the building in a high-demand medical corridor or an up-and-coming neighborhood?
- Demystify Lease Types: This is where your LSI keywords become real financial clauses.
- Full-Service Gross Lease: Often simpler, this single rental price typically includes base rent, property taxes, insurance, and common area maintenance (CAM). It offers predictable costs.
- Modified Gross Lease: More common. You pay base rent plus a share (pro-rata) of some operating expenses like property taxes, insurance, and CAM, but not necessarily utilities or janitorial for your suite.
- Triple Net (NNN) Lease: You pay base rent plus all your share of taxes, insurance, and maintenance. It’s crucial to audit these “pass-through” costs annually.
- The Hidden Line Items: The actual cost includes what you’ll spend to make the space yours. This is the sticker price plus:
- Build-Out/Improvement Costs: Transforming a vanilla shell into a medical suite.
- Technology & Infrastructure: Robust HVAC for air quality, enhanced electrical for imaging equipment, and data cabling.
- Ongoing Operational Costs: Janitorial (often requiring biohazard protocols), medical waste disposal, and potentially higher utility bills.
Always ask for a detailed breakdown of the total occupancy cost to compare properties apples-to-apples.
Step 3: Negotiate the Build-Out: The Tenant Improvement (TI) Allowance
This is one of the most important negotiations in your medical real estate lease. A Tenant Improvement (TI) Allowance is a sum of money the landlord contributes toward customizing the space for you.
- How it Works: If the build-out costs $200 per square foot and the landlord offers a $50 per square foot TI allowance, you are responsible for the remaining $150/sq. ft. This is a major upfront capital outlay.
- Factors Influencing the Allowance: The amount is negotiable and depends on your credit, the lease length, the rental rate, and the building’s age. A longer lease term often secures a higher allowance. Be prepared to discuss your personal guarantee.
- Key Negotiation Point: Advocate for the right to hire your own contractor experienced in building healthcare facilities. Landlords may have preferred vendors, but a specialist in medical office design will understand critical needs like infection control surfaces, soundproofing, and plumbing rough-ins.
Step 4: Ensure Accessibility and Compliance (Non-Negotiables)
Your patients’ comfort and safety are paramount, and the law requires it. This isn’t just about ethics; it’s about risk management and inclusivity.
- ADA Compliance is Fundamental: The Americans with Disabilities Act (ADA) sets standards for accessible design. While you are responsible for your suite’s compliance, verify the building’s common areas (restrooms, entrances, elevators) already meet code. Installing ADA-compliant features like ramps, widened doorways, and accessible exam equipment is your responsibility and can be costly if not planned.
- Pro-Tip: Negotiate with the landlord to share these upgrade costs, framing it as a permanent improvement to their property. A clause stating the landlord will cover the structural components of accessibility (e.g., building the ramp well) while you handle suite-specific adaptations is a common middle ground.
- Patient-Centric Accessibility: Think beyond the minimum code. Is there a covered drop-off area for patients in inclement weather or with mobility issues? Is the parking ratio adequate? A good benchmark is 5-7 parking spaces per 1,000 square feet of medical office space, and some of these must be designated accessible parking.
Step 5: Secure Critical Lease Clauses for Medical Practice
A standard commercial lease is written for 9-to-5 businesses. You must modify it for healthcare operations.
- After-Hours Access: Your lease must explicitly grant you, your staff, and your patients 24/7 access. There should be no extra fees or restrictions. Confirm security protocols for off-hours entry.
- Exclusive Use Clause: Prevents the landlord from leasing space to a direct competitor within the same building or complex. For example, a pediatrician might negotiate an exclusive for “pediatric services” in the building.
- Hazardous Materials & Use: Ensure the lease permits standard medical operations, including the use and disposal of biohazardous materials and controlled substances, in compliance with all laws.
- Assignment & Subletting: Life happens. A well-negotiated clause will allow you to transfer the lease to another qualified healthcare provider if you sell your practice, retire, or relocate, protecting you from long-term liability.
Step 6: Engage a Qualified Medical Real Estate Broker
Given the complexity, one of the best investments you can make is hiring a qualified medical office broker. A specialist brings more than just listings; they bring niche expertise.
A seasoned medical office broker understands the nuances we’ve discussed. They know which buildings have the necessary plumbing stacks for a dental or GI suite. They have relationships with landlords experienced in healthcare and can accurately compare total occupancy costs. They will advocate for your clinical and operational needs during negotiations, often spotting problematic clauses you might miss. Their fee is typically paid by the landlord, not you, making their expert guidance effectively free to you as the tenant.
Conclusion: Building a Foundation for Success
Lease medical office space is a significant undertaking, but a methodical, informed approach leads to the best outcome. By thoroughly defining your needs, decoding the true costs, fiercely negotiating the build-out and lease clauses, and prioritizing compliance and accessibility, you secure more than just real estate.
You secure the physical foundation for your practice’s future—a space that enhances patient experience, streamlines your team’s work, and provides financial predictability. Start the process early, ask detailed questions, and don’t hesitate to lean on the expertise of medical office design consultants and specialized brokers. Your ideal space is out there, waiting to be transformed into the heart of your healing practice.